Winding Order and Face Culling
Much like depth testing, up until now we’ve been overlooking a concept that’s fundamental to getting complicated scenes to work: winding order. What’s that you might ask? It’s nothing more complicated than the order in which we specify a triangle’s vertices. Consider the following diagram:
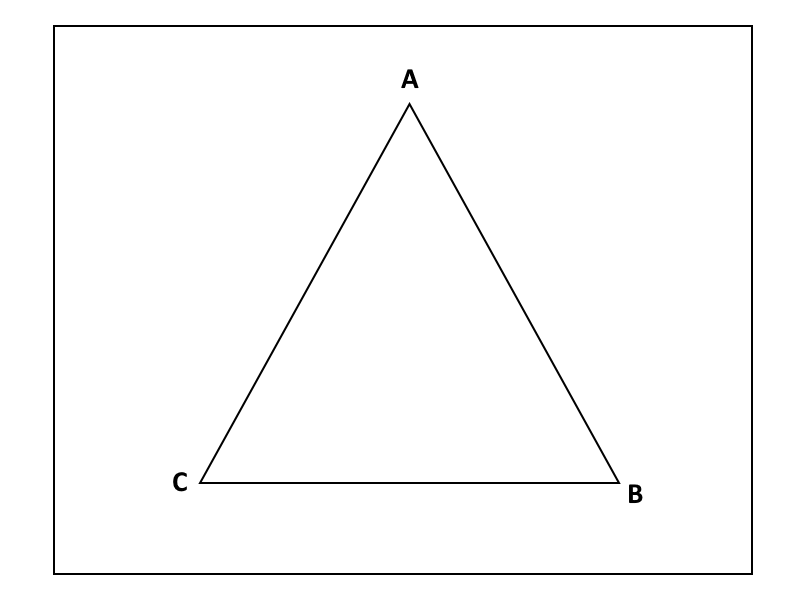
A triangle is defined by three vertices and, up until now, we’ve been listing them in whatever order we please; however, Vulkan would very much like to care about that order for reasons we’ll touch on in a second.
Winding order can be either clockwise or counter-clockwise. A clockwise winding for the triangle above would be A -> B -> C whereas a counter-clockwise winding would be A -> C -> B. Conceptually it isn’t very difficult but it can easily trip you up if you don’t pay attention to it.
Okay, that’s great and all but why should we care? What winding lets us do is figure out which triangles are facing away from us due to a neat math trick. If a triangle has clockwise winding when it’s facing us, if we turn it around it will appear to us to have a counter-clockwise winding instead. This lets Vulkan silently cull (or drop) these vertices which aren’t facing us. A complicated scene might have hundreds of thousands or even millions of triangles in its raw data, but around half of those will be facing away from us and invisible to the user at any given time. By using face winding we can halve the amount of rendering our graphics hardware needs to do. It’s an inexpensive trick, but one which frees up a lot of graphics hardware capability to use for things we care about.
Example
Okay, a simple example is below. Let’s use the same code as we did for our depth testing but modify it a little bit. Let’s set it so that the black triangle uses counter-clockwise winding while the white triangle uses clockwise winding.
let vertices = [
    Vertex {
        position: [-0.5, 0.5, -0.5],
        color: [0.0, 0.0, 0.0],
    },
    Vertex {
        position: [0.5, 0.5, -0.5],
        color: [0.0, 0.0, 0.0],
    },
    Vertex {
        position: [0.0, -0.5, -0.5],
        color: [0.0, 0.0, 0.0],
    },
    Vertex {
        position: [-0.5, -0.5, -0.6],
        color: [1.0, 1.0, 1.0],
    },
    Vertex {
        position: [0.5, -0.5, -0.6],
        color: [1.0, 1.0, 1.0],
    },
    Vertex {
        position: [0.0, 0.5, -0.6],
        color: [1.0, 1.0, 1.0],
    },
];
If you run your code now you’ll see that both triangles show up, exactly as in the last lesson. Let’s change that now.
Pipeline
To tell Vulkan we want to enable face-culling we need to add some commands to our Pipeline.
let pipeline = GraphicsPipeline::start()
    .vertex_input_state(BuffersDefinition::new().vertex::<Vertex>())
    .vertex_shader(vs.entry_point("main").unwrap(), ())
    .input_assembly_state(InputAssemblyState::new())
    .viewport_state(ViewportState::viewport_dynamic_scissor_irrelevant())
    .fragment_shader(fs.entry_point("main").unwrap(), ())
    .depth_stencil_state(DepthStencilState::simple_depth_test())
    .rasterization_state(RasterizationState::new().cull_mode(CullMode::Back))
    .render_pass(Subpass::from(render_pass.clone(), 0).unwrap())
    .build(device.clone())
    .unwrap();
.rasterization_state lets us change a number of settings including depth clamping, whether we want to fill in our polygons, and, most importantly for us right now, if we want to use face-culling. By default, the RasterizationState does not have culling enabled, so we turn it on with .cull_mode(CullMode::Back). We can cull everything in front as well if we wish, as well as change the winding order. The default winding order is counter-clockwise. You can change this by adding .front_face(FrontFace::Clockwise) after .cull_mode(..)
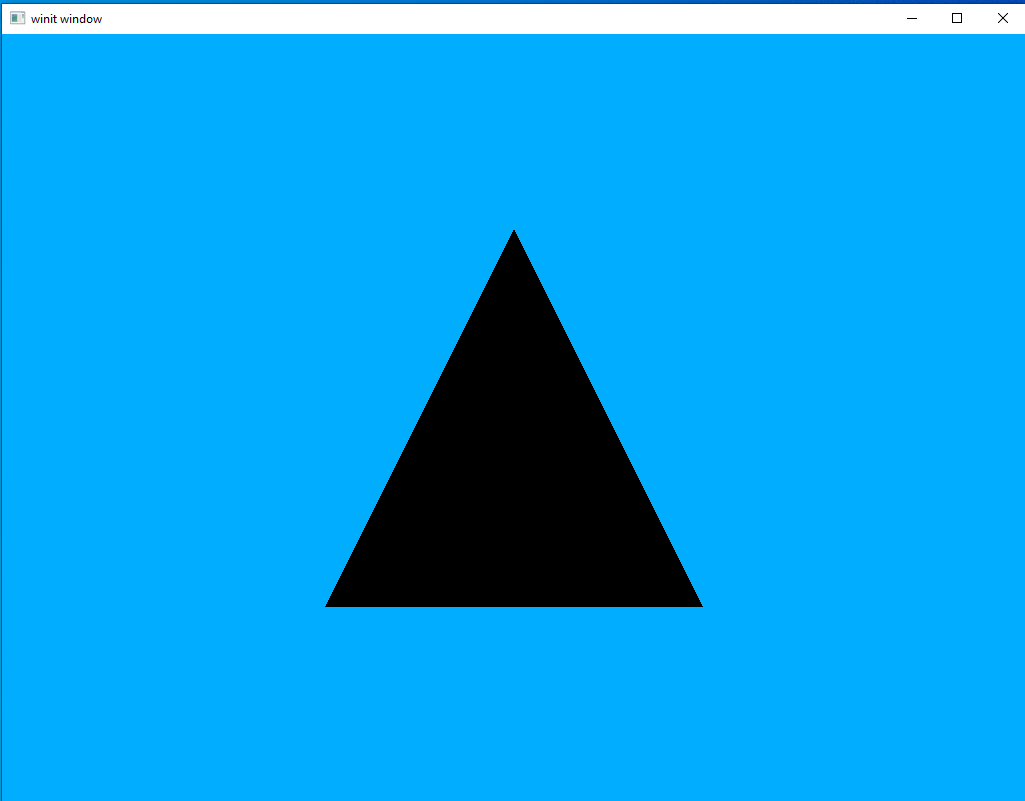
Run the code and we should see the white triangle has disappeared, exactly as expected.
As with depth testing, we will be leaving this feature on for all future lessons.